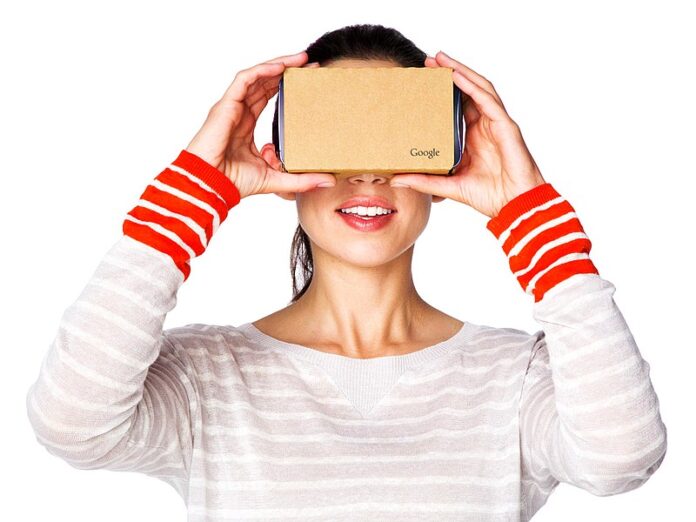
For fans of VR, 2016 promises to be an exciting year, but high costs suggest that most headsets will remain out of the reach of the public. For the rest of us, there’s always Google’s ultra-cheap Cardboard headsets. But while there are games and movie apps for the more expensive headsets, the content available for cardboard is a little limited.
Google’s Street View offers some great content for VR – you can look around the world and feel really transported. Street View isn’t available in all countries though, and you can’t use it in India for the most part. Google ran into regulatory hurdles in the past though it was announced that Street View is coming to Hyderabad. Aside from that, Google also has 360-degree imagery of heritage sites.
However, any user can upload a photosphere to Google Street View, and if you pop the phone in your Cardboard, this can be a great way of finding really cool new photospheres. To do this, just start the Google Street View app on Android or iOS, and then look around on the map for photos to view. Uploading a photosphere is also a really quick and easy process that won’t take more than a couple of moments of your time. If you want to upload VR photos to Google Street View, here’s what you need to do.
1) Start the Google Street View app on your phone – it’s available for both Android and iOS for free.
2) Tap the big + button on the bottom right corner.
3) Tap on Camera
4) Okay, now you’ve got to snap your photosphere. To do this, you’ll be taking multiple pictures and stitching them together. That sounds complex, but actually works automatically. The UI displays a white circle and an arrow pointing towards it. Just point your camera at the circle and it automatically clicks a picture.
Next, you can move the phone to any side or up and down, and you’ll see more white circles to point at. Keep repeating the process until you’ve completed all the empty spots in the sphere – this can take a while – around 30 photos – but taking each picture is really fast, so you won’t spend more than a couple of minutes doing this.
5) Once you’re done, a green tick mark will appear at the bottom of the screen. Tap this, and the app will process the pictures and stitch them together.
6) Once it’s done, you’ll see a card titled Ready to publish. Tap Select to choose a picture to upload, and press the Up arrow icon to upload the image to Google Maps.
7) Tap the location icon (it looks a little like a pointer with the point facing down) and set a location for the image, so people can see it on Google’s Street View app, or on Google Maps.
And that’s it, you’re done. The resulting image can be shared to people from the app, so they can see it on their phones or on their computers. If people are looking at it on their phones, they need only slip on their Cardboard headset to experience the image in virtual reality, which looks best, though you can look around the image even on the desktop, as you can see with this view of the Gadgets 360 office.
The upload is also public, so once it’s done, people will be able to find your photosphere through the Google Street View app, or via Google Maps in the browser.
What other things do you use your Cardboard headset for? Tell us via the comments.

